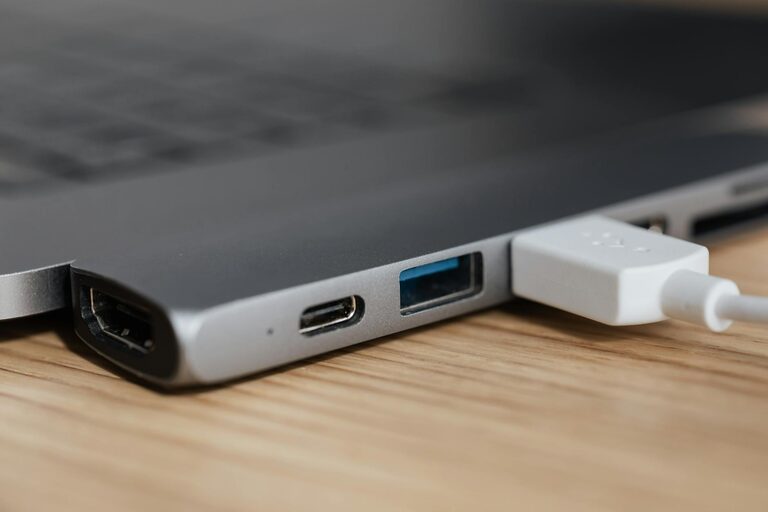
Setting up a dedicated charging station for your devices is a smart way to keep your gadgets powered and your space tidy. Whether you have smartphones, tablets, smartwatches, or other rechargeable items, a charging station makes it easy to manage power needs without messy cables or searching for outlets.
In this post, we’ll guide you through the process of creating a functional and organized charging station at home.
Why Set Up a Charging Station?
With multiple devices requiring regular charging, a central station helps:
– Keep cables and chargers organized
– Reduce clutter from scattered cords
– Provide a designated spot for devices to charge safely
– Simplify daily routines by ensuring devices are always ready
Step 1: Choose the Right Location
Start by picking a suitable spot for your charging station. Consider:
– Accessibility: Place it where family members can easily reach, such as a living room corner, kitchen counter, or home office desk.
– Power Availability: Make sure there are enough nearby electrical outlets.
– Surface Space: Select a flat surface with enough room for multiple devices and accessories.
– Safety: Avoid areas exposed to water or extreme heat.
Step 2: Select Your Charging Equipment
Your charging station will need some essential hardware. Options include:
– Multi-port USB Charger: Look for chargers with multiple USB-A and USB-C outputs to charge several devices simultaneously.
– Wireless Charging Pads: Compatible with many modern phones and accessories for cable-free charging.
– Charging Dock: Designed to hold and charge specific devices like smartwatches or phones vertically.
– Power Strip or Extension Cord: To provide enough outlets if the chosen location has limited plugs.
Choose chargers with built-in safety features like overcurrent and overvoltage protection to safeguard your devices.
Step 3: Gather Organizers and Accessories
To keep cables neat and prevent tangles:
– Cable Clips and Holders: Stick them on your surface to route cables tidily.
– Charging Station Boxes or Trays: Enclosures that hide cables and chargers.
– Labeling: Use simple labels or colored tags on cables to quickly identify each device’s charger.
– Cord Winders or Velcro Straps: Keep excess cables rolled and secured.
Step 4: Arrange Your Devices and Chargers
Once you have all equipment:
- **Position the charger(s) near the power source.**
- **Plug in all necessary cables into the multi-port USB charger or power strip.**
- **Route cables neatly using clips or guides to prevent clutter.**
- **Designate specific spots for each device on your station.**
- **If using wireless chargers, ensure devices rest correctly on pads for effective charging.**
Step 5: Maintain Your Charging Station
Keeping your charging station functional is easy with regular care:
– Clean the Area: Dust and wipe surfaces weekly.
– Check Cables: Replace any worn or damaged cables to avoid hazards.
– Review Device Needs: Update your station as you acquire new devices or retire old ones.
– Avoid Overloading: Ensure your power strip or charger isn’t exceeding recommended limits.
Additional Tips for the Best Charging Station
– Use Cable Management Solutions: Conceal cables behind furniture or through cable sleeves.
– Add Lighting: Include a small LED lamp to illuminate the station at night.
– Personalize Your Setup: Incorporate decorative trays or plants to blend the station with your home decor.
– Consider Portability: For travel, create a compact charger kit with labeled cables and a small power bank.
Conclusion
A well-planned charging station can simplify your daily routine while keeping your devices safe and your space neat. By choosing the right location, chargers, and organizers, you’ll enhance convenience and extend the lifespan of your electronics.
Take some time this weekend to build or upgrade your charging station — your devices and family will thank you!
